Discover the innovative realm of Dryvit siding, a revolutionary construction material that is changing the game. From its unique composition to the wide array of types and colors available, Dryvit siding offers a fresh take on traditional siding materials. Let's dive into the intricate details of this fascinating topic.
Introduction to Dryvit Siding
Dryvit siding, also known as Exterior Insulation and Finish System (EIFS), is a type of cladding system used in construction to provide exterior walls with insulation, weatherproofing, and decorative finish. One of the primary functions of Dryvit siding is to enhance the energy efficiency of buildings by improving insulation, reducing thermal bridging, and preventing air infiltration. It also offers protection against moisture, mold, and mildew, contributing to the longevity and durability of the structure.Benefits of Dryvit Siding
- Energy Efficiency: Dryvit siding helps reduce heating and cooling costs by providing better insulation for the building.
- Aesthetic Versatility: It offers a wide range of colors, textures, and finishes to enhance the appearance of the exterior.
- Lightweight: Dryvit siding is lighter than traditional materials, making installation easier and faster.
- Durability: It resists fading, cracking, and chipping, maintaining its appearance over time.
Common Uses of Dryvit Siding
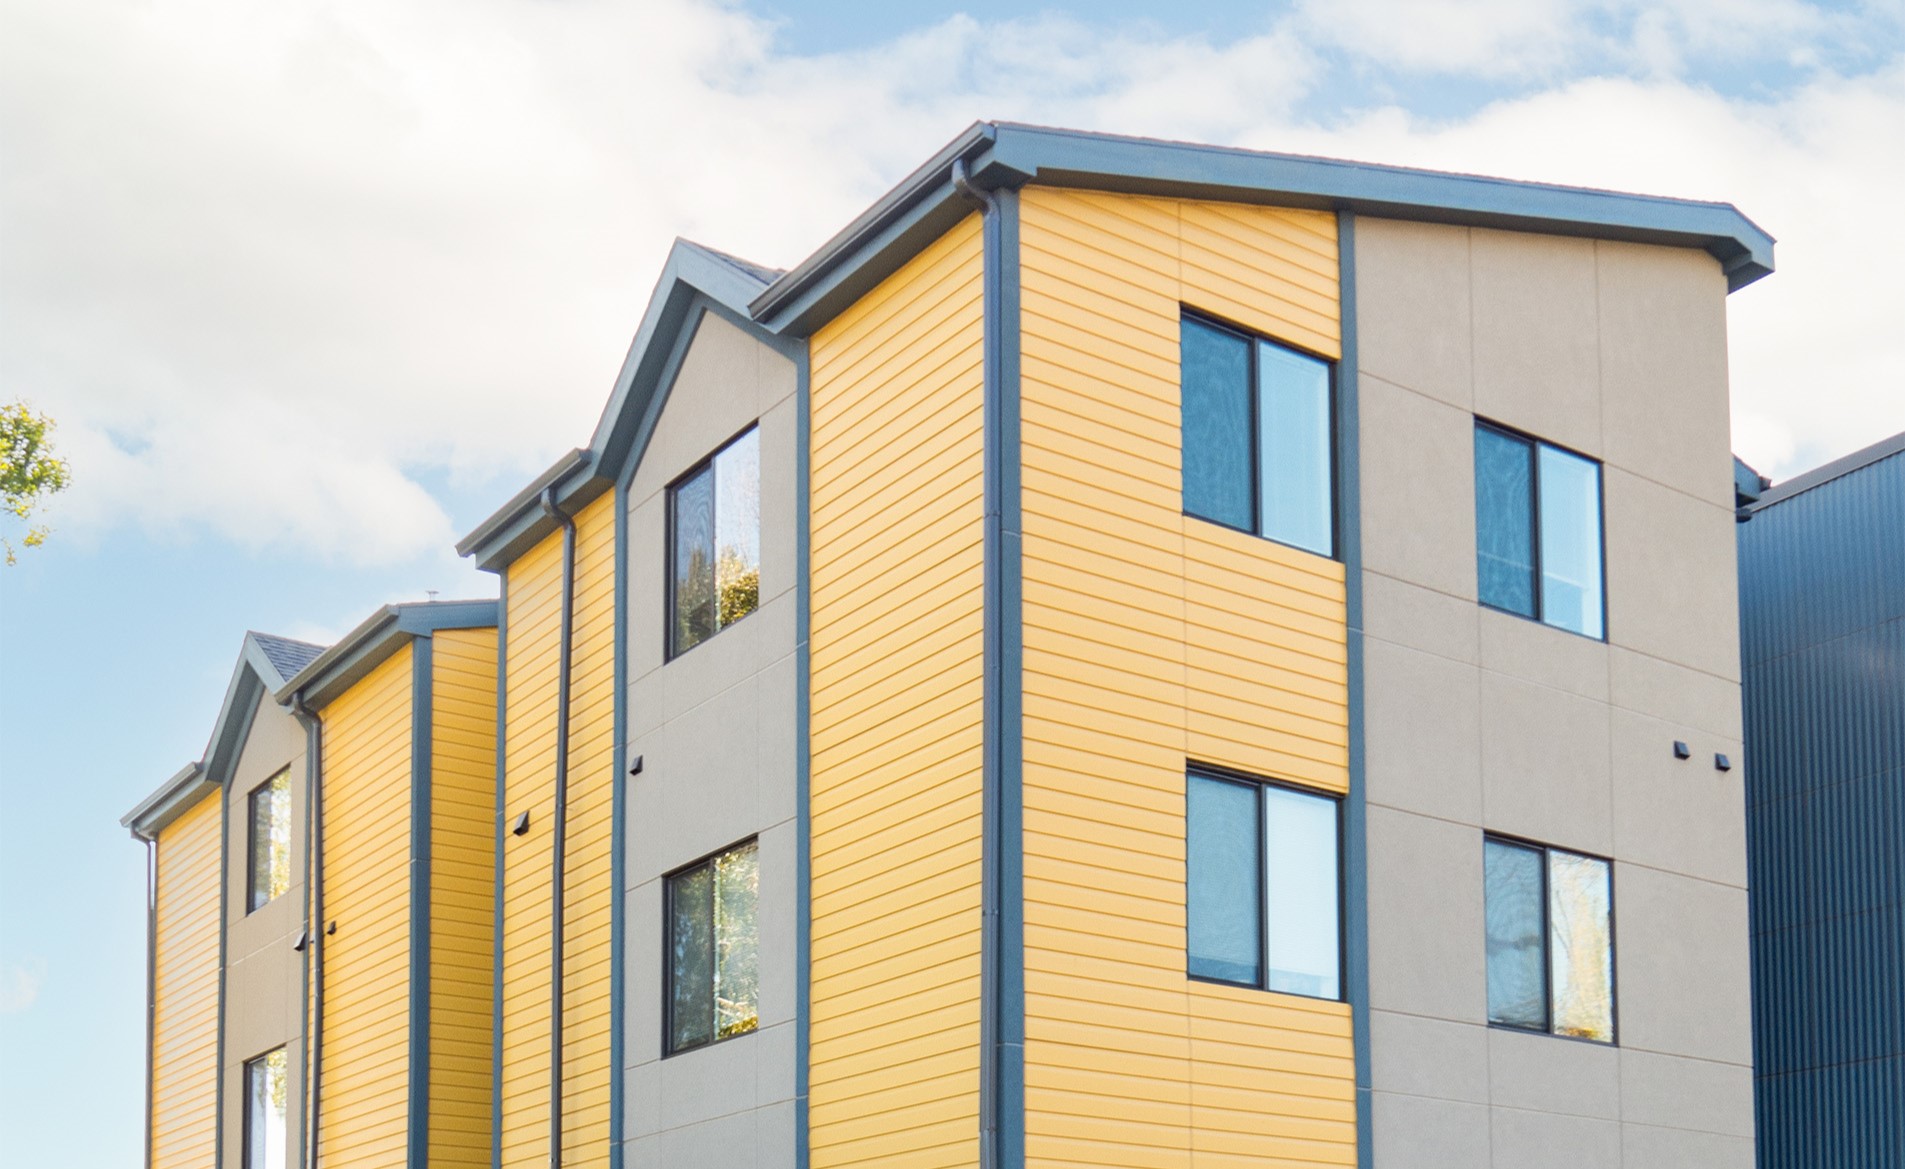
Dryvit siding is commonly used in commercial buildings, residential homes, and multifamily units. It can be seen on shopping malls, office buildings, hotels, and modern residential developments. The versatility and durability of Dryvit siding make it a popular choice for architects and builders looking to achieve both aesthetic appeal and energy efficiency in their projects.Composition and Types of Dryvit Siding
Dryvit siding is composed of a mixture of sand, cement, and polymers, which are applied in layers to create a durable and insulated exterior finish for buildings. This composition sets Dryvit apart from traditional siding materials like wood or vinyl, offering enhanced protection and energy efficiency.Different Types of Dryvit Siding
- Traditional Finish: This type of Dryvit siding offers a smooth, classic appearance that can be customized with various colors and textures.
- Quoins and Bands: These decorative elements add visual interest to the exterior of a building, creating a unique and sophisticated look.
- Textured Finishes: Dryvit siding is available in a range of textured finishes, such as brick, stone, or stucco, to mimic the appearance of traditional materials.
- Insulated Finishes: Some Dryvit siding products come with built-in insulation, improving the energy efficiency of a building and reducing heating and cooling costs.
Color Options and Textures
- Dryvit siding offers a wide range of color options to suit any architectural style or design preference.
- Textures vary from smooth to coarse, allowing for versatility in achieving different aesthetic effects.
- Custom color matching is also available, providing the flexibility to create a truly unique look for any building.
Installation Process of Dryvit Siding
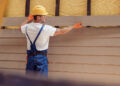
Installing Dryvit siding requires careful attention to detail and the use of specific tools and materials. Below is a step-by-step guide on how to properly install Dryvit siding on a building.Preparation
Prior to installation, ensure that the surface is clean, dry, and free of any debris. Apply a moisture barrier to prevent water infiltration.Tools and Materials Required
- Scratch coat material
- Adhesive
- Insulation board
- Fiberglass mesh
- Finish coat material
- Trowels
- Level
- Utility knife
- Protective gear
Installation Steps
- Apply the scratch coat material to the surface, creating a rough texture for better adhesion.
- Install the insulation board, ensuring it is securely attached to the substrate.
- Apply adhesive to the insulation board and embed fiberglass mesh into it for added strength.
- Apply a base coat of finish material over the mesh and allow it to dry completely.
- Smooth out the surface with a trowel and apply the final finish coat of Dryvit siding.
- Use a level to ensure the siding is installed evenly and in alignment with the building.
Special Considerations
During the installation process, it is important to pay attention to the weather conditions, as extreme temperatures or high humidity can affect the drying and curing of the materials. Additionally, proper ventilation is crucial to allow moisture to escape and prevent mold growth behind the siding.Maintenance and Care of Dryvit Siding
Proper maintenance is essential to prolong the life of your Dryvit siding and keep it looking its best. By following recommended practices, you can ensure that your siding stays in top condition for years to come.Recommended Maintenance Practices
- Inspect the siding regularly for any signs of damage, such as cracks or chips.
- Keep the siding clean by washing it with a mild detergent and water at least once a year.
- Trim any vegetation near the siding to prevent moisture buildup and damage.
- Check for any gaps or openings where water could seep in and cause damage.
Cleaning Dryvit Siding
To clean your Dryvit siding and remove any stains or discoloration, follow these steps:- Mix a solution of mild detergent and water in a bucket.
- Use a soft-bristled brush or cloth to apply the solution to the siding.
- Gently scrub the siding in a circular motion to remove dirt and stains.
- Rinse the siding thoroughly with clean water using a garden hose.
Repairing Minor Damages or Cracks
If you notice any minor damages or cracks in your Dryvit siding, you can easily repair them with these tips:- Clean the damaged area with a mild detergent and water to remove any dirt or debris.
- Apply a small amount of acrylic caulk to the crack or damage, smoothing it out with a putty knife.
- Allow the caulk to dry completely before painting over it to match the color of your siding.


